WooCommerce MailChimp version 1.2 is now available on the WordPress Plugin Repository which brings enhancements to provide even greater control over the opt-in settings to better support international … [Read more...]
WooCommerce MailChimp Update
WooCommerce MailChimp will soon surpass the 3,500 download mark after just under 3 months on the WordPress Plugin Repository. The response has been incredible, interest has been steadily gaining and … [Read more...]
WooCommerce MailChimp 1.1 Released
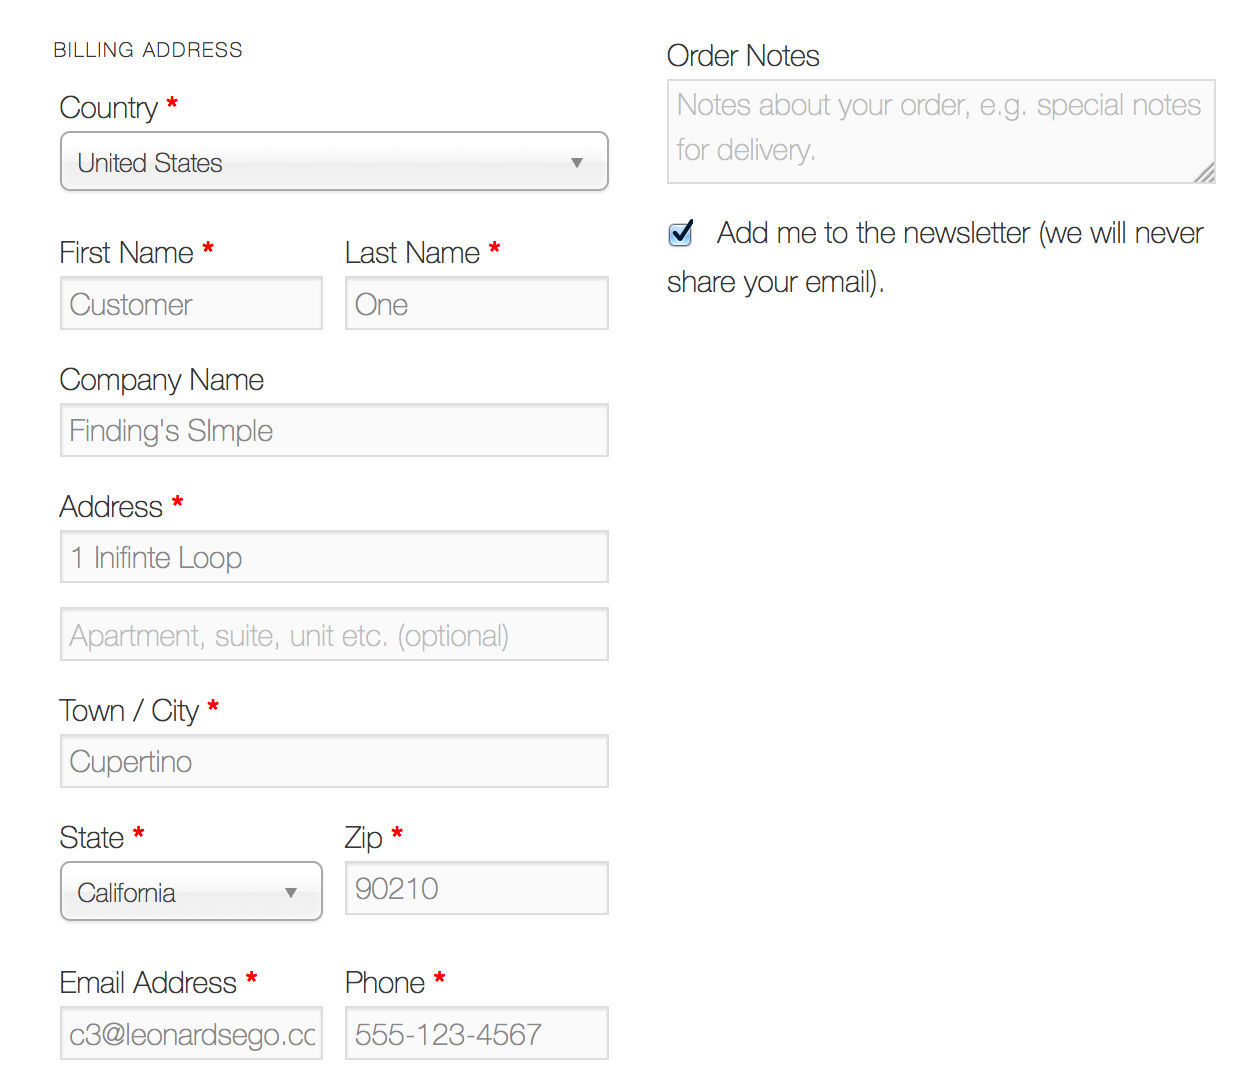
The response has been huge to my WooCommerce MailChimp plugin but there have been quite a few international users who haven't been able to use it due to laws requiring the ability for customers to … [Read more...]
WooCommerce MailChimp WordPress plugin now on MailChimp Integrations Directory
Quick Update: MailChimp users can now find the WooCommerce MailChimp WordPress plugin on the MailChimp Integrations Directory. To find out more about the WooCommerce MailChimp WordPress plugin, see … [Read more...]
New WordPress Plugin: Wistia Responsive
Wistia Responsive is a simple and straightforward WordPress plugin I developed while working on the website for the New Saint Thomas Institute (NSTI) that automatically makes all of your Wistia video … [Read more...]
New WordPress Plugin: WooCommerce MailChimp

After a frustrating and fruitless search for a simple and free solution to basic WooCommerce integration with MailChimp, I decided to sit down and write a little plugin to do just that. There are a … [Read more...]